Published on
· 4 min read
Next.js is one of the popular open-source frontend framework for building web applications using React.js. It has in-built support for Markdown files. However, if you want to add categories, author info, and more, it requires a bit of extra configuration.
But wait! Voidfull makes this process super easy! You can either integrate it into your existing project or skip ahead and start with one of our pre-made templates:
In this tutorial, you'll learn how to set up Voidfull in your Next.js application in no time.
To keep things simple and straightforward, we’ll be using Next.js’ pages routes. We won’t dive too deep into the technical stuff—we’ll just show you how to display posts on your homepage. (Psst, if you need a more advanced setup, check out our pre-made templates!)
If you don’t have a team yet, create one. It’s quick and simple!
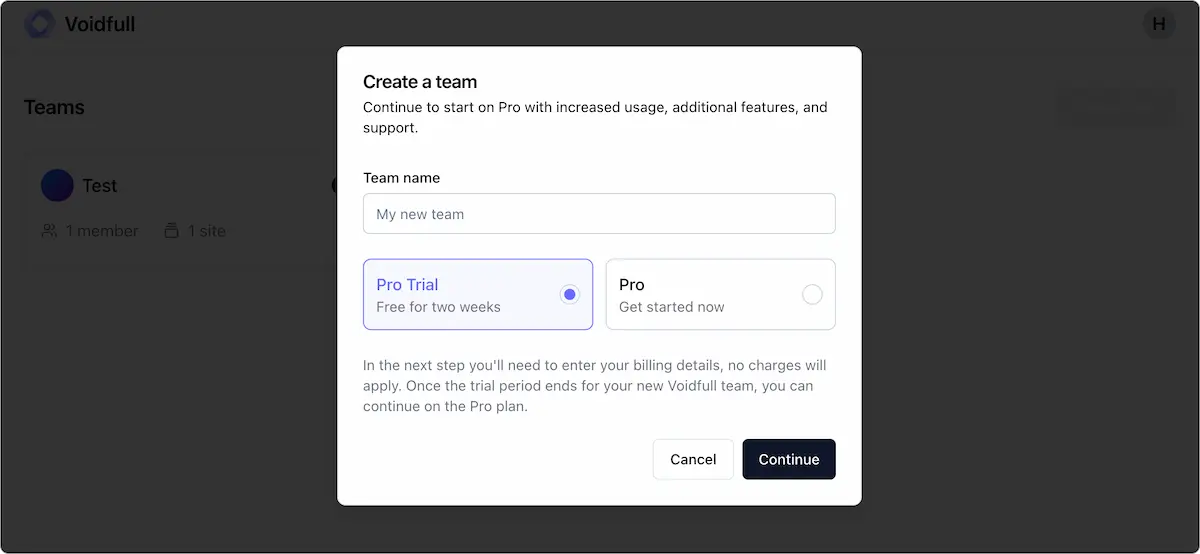
Let give it a name "My new team" and select Pro Trial for now. You can always upgrade to Pro plan later.
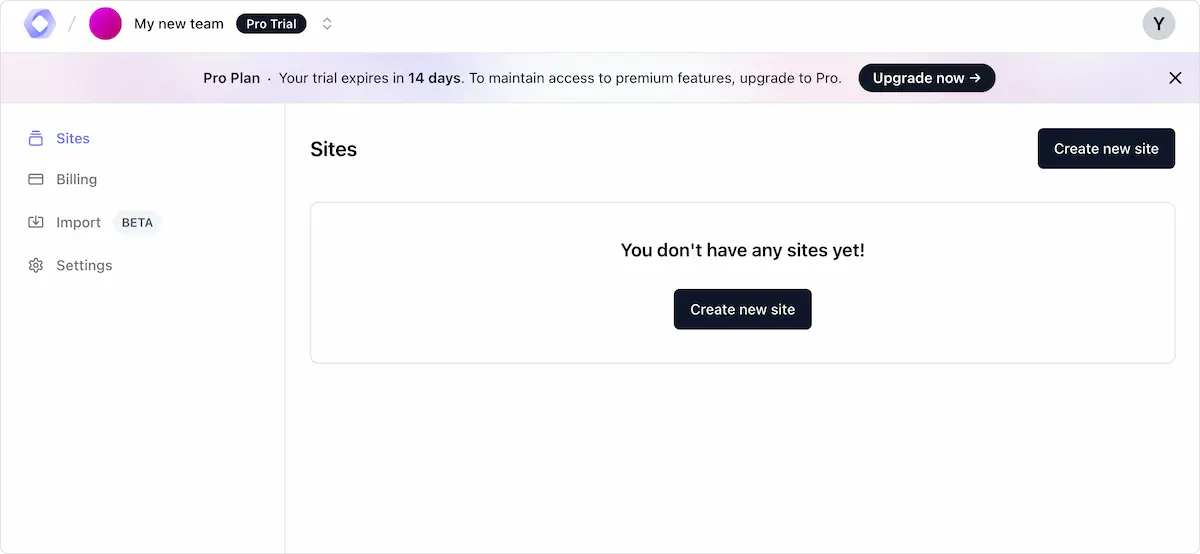
If you don't have a site yet, go ahead and create one. A "site" is essentially a collection of your posts and categories. You can create as many sites as you like—for your blog, help center, changelog, you name it.
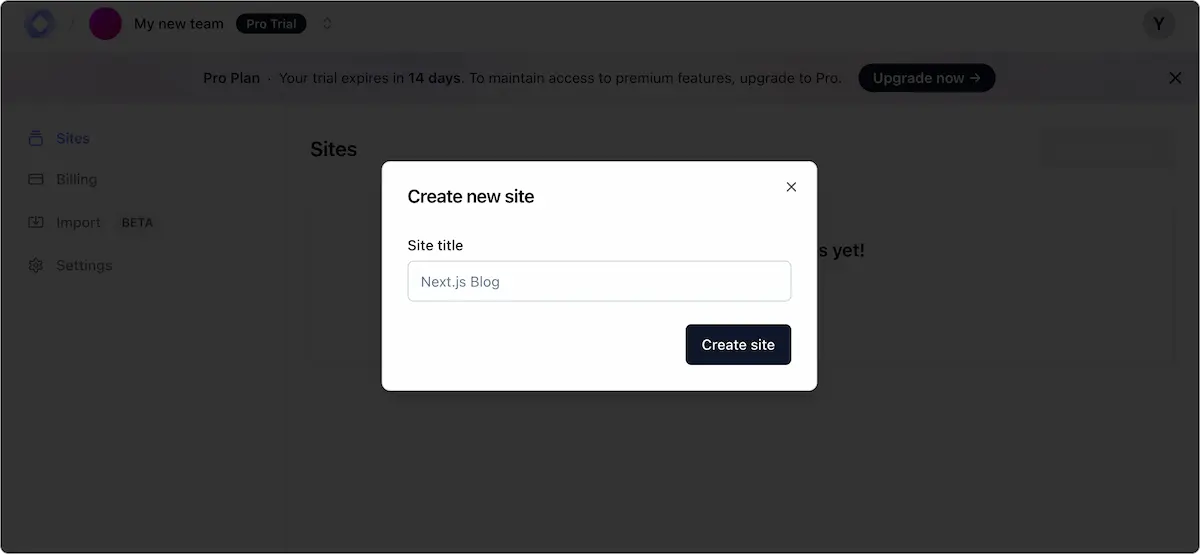
Once you've got your site, grab the SiteID from the URL—you’ll need it later!
To fetch posts from Voidfull and display them in your Next.js site, you’ll need a token. Head to your site’s dashboard and find the "Tokens" section on the sidebar.
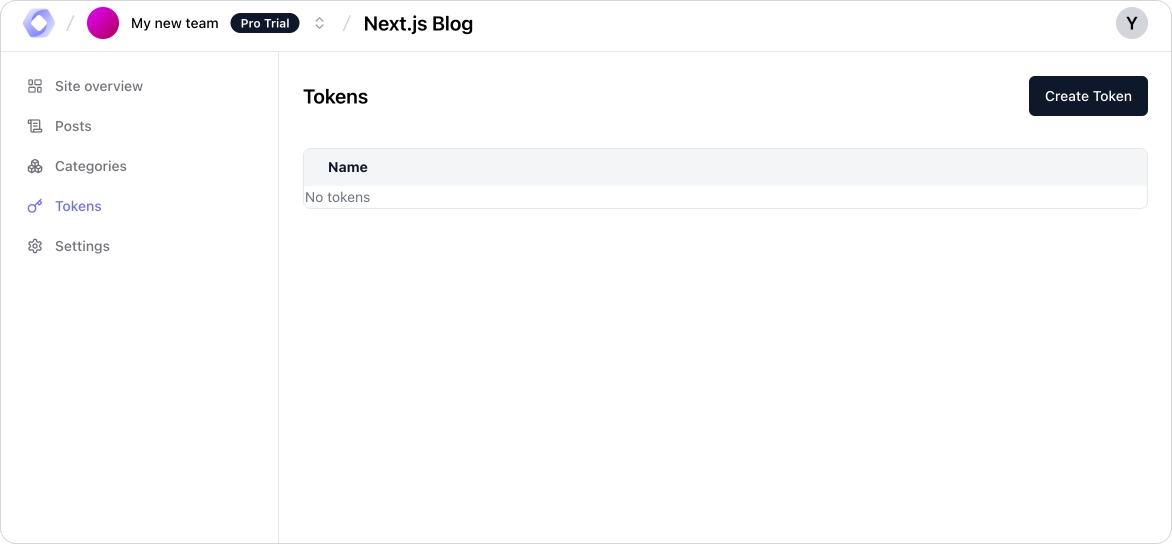
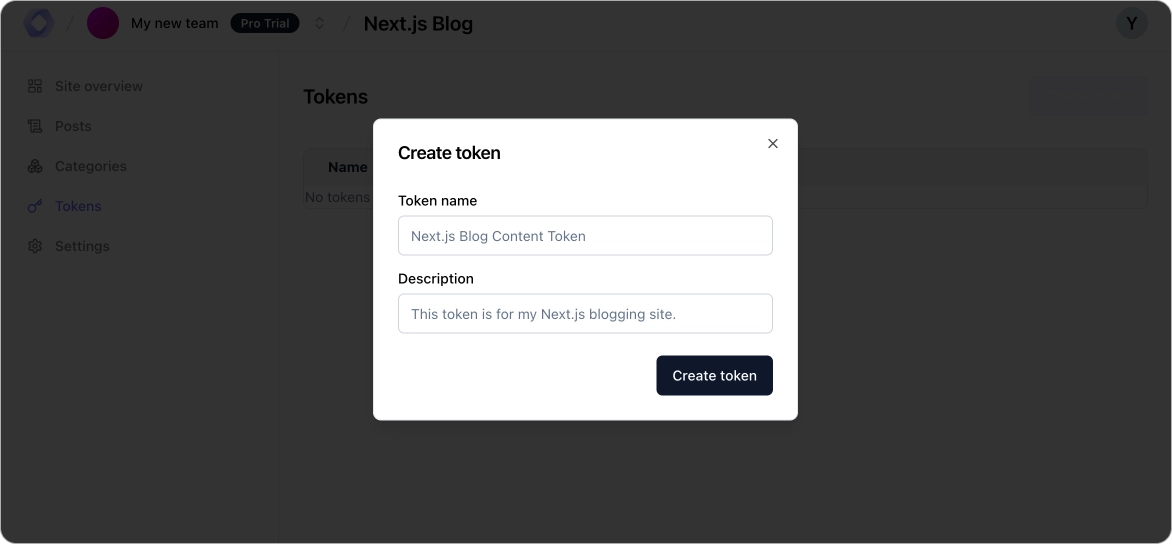
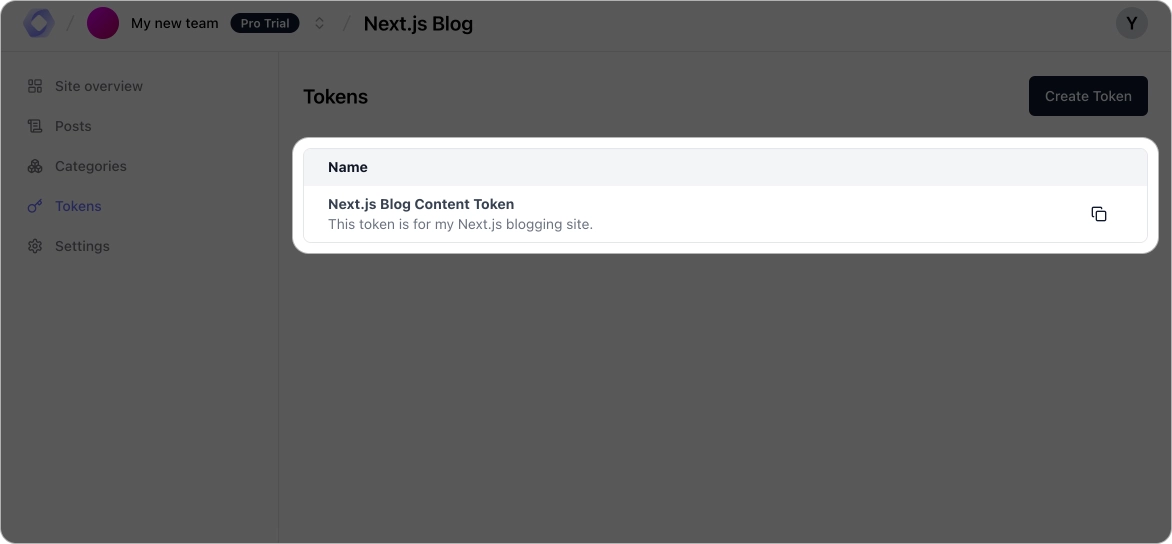
Click on the Create Token button. Enter a name and description (optional) but highly recommended—you’ll thank yourself later when you need to figure out what each token is for!
Save that token somewhere safe—we’ll be using it in a bit.
Open the terminal in the directory where you want to set up your Voidfull-powered Next.js site. Run this command:
npx create-next-app@latest
Tip: To make things easier, select the pages router when prompted during setup.
Follow the instructions in the terminal, and once it's complete, you're ready to go!
Use your preferred package manager to install the Voidfull SDK:
# npm
npm install @voidfull/js-sdk

# yarn
yarn add @voidfull/js-sdk

# pnpm
pnpm install @voidfull/js-sdk
In your /src directory, create a new file lib/voidfull.ts and add this code:
import Voidfull from '@voidfull/js-sdk';

export const Client = new Voidfull({
  siteId: process.env.VOIDFULL_SITE_ID,
  token: process.env.VOIDFULL_CONTENT_TOKEN,
});
Create a .env.local file at the root of your Next.js project. Paste the SiteID and Token you saved earlier into the file like this:
VOIDFULL_SITE_ID=your-site-id-here
VOIDFULL_CONTENT_TOKEN=your-token-here
Replace the contents of your /src/pages/index.tsx file with this code:
import Head from "next/head";
import Image from "next/image";
import localFont from "next/font/local";
import type { ListPostResponse } from "@voidfull/js-sdk";
import styles from "@/styles/Home.module.css";
import { Client as Voidfull } from "../lib/voidfull";

const geistSans = localFont({
  src: "./fonts/GeistVF.woff",
  variable: "--font-geist-sans",
  weight: "100 900",
});

interface Props {
  blogs: ListPostResponse['posts'];
}

export default function Home({ blogs }: Props) {
  return (
    <>
      <Head>
        <title>Voidfull Blog</title>
        <meta name="description" content="Next.js blog powered by Voidfull" />
        <meta name="viewport" content="width=device-width, initial-scale=1" />
        <link rel="icon" href="/favicon.ico" />
      </Head>
      <main className={styles.main}>
        <Image
          src="https://app.voidfull.com/voidfull.svg"
          alt="Voidfull Logo"
          width={38}
          height={38}
          priority
        />
        {blogs.length > 0 ? (
          <ol>
            {blogs.map(blog => (
              <li key={blog.id}>
                {blog.title}
              </li>
            ))}
          </ol>
        ) : (
          <div>No blogs found!</div>
        )}
      </main>
      <footer>
        <a href="https://voidfull.com" target="_blank" rel="noopener noreferrer">
          Go to Voidfull →
        </a>
      </footer>
    </>
  );
}

export const getStaticProps = async () => {
  try {
    const response = await Voidfull.sites.posts.list();

    return {
      props: {
        blogs: response.posts,
      },
    };
  } catch (error) {
    return {
      props: {
        blogs: [],
      },
    };
  }
};
And that's it! You've now got a basic setup to display all your posts in your Next.js app using Voidfull. Happy coding! 😄